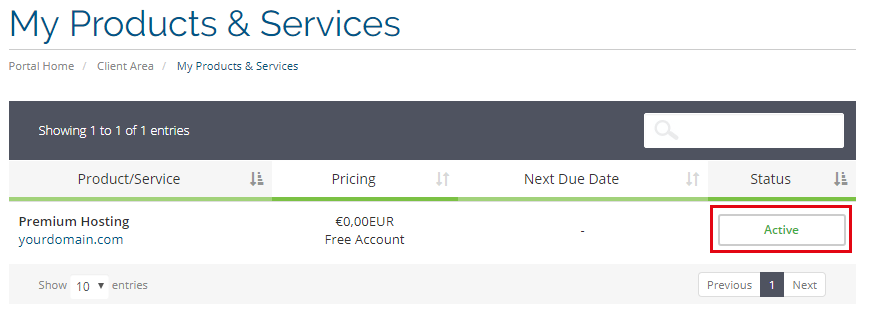
Next you select the corresponding product by clicking on the “Active” button.
Click “Open Control Panel”, on which you will be redirected tot he Plesk Dashboard to setup the hosting for your domain.

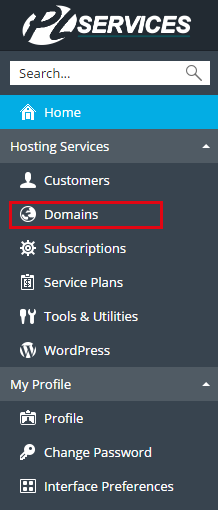
Go to "Domains":
Click on "Add Domain"
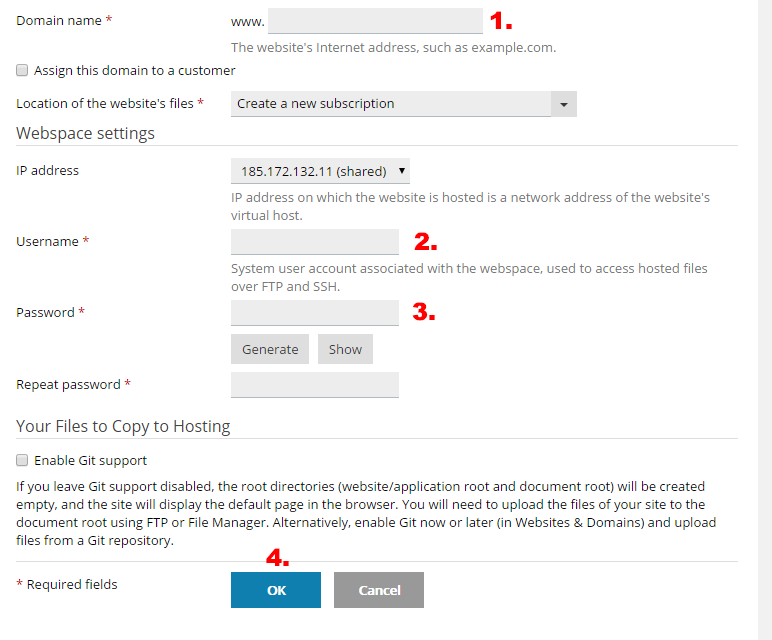
Fill out the required information:
- Enter the domain name
- Enter a username
- Enter a password, we advice to click on “Generate”, so the system will automatically create a strong password for you, to reveal this password, you can click on “Show”. If you want to enter a custom password, make sure, you also repeat the password in the next field.
- Verify previous steps and click “OK”
If everything was entered correctly, you have just added a domain in your control panel!

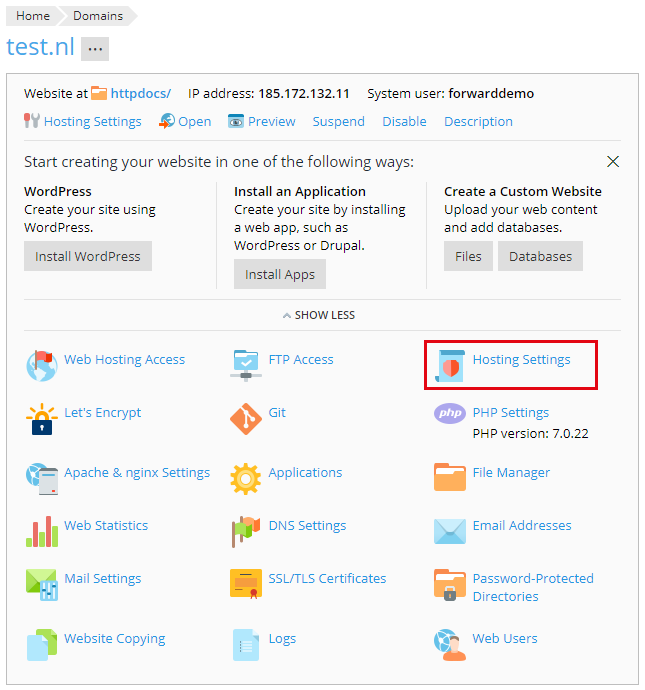
Now we need to change this domain to forwarding, to do this click on the domain we've just created:

Click on "Hosting Settings":
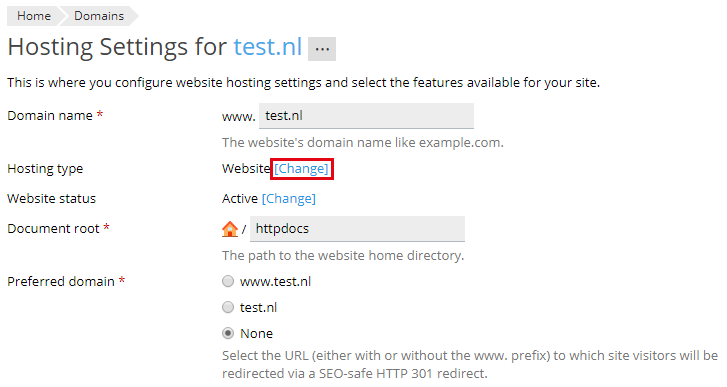
Next to "Hosting type: Website", click on Change
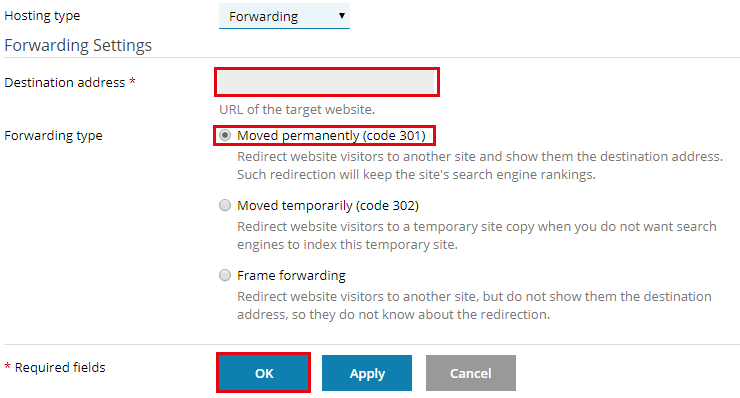
Change the Hosting type, by selecting Forwarding from the dropdown menu, the page will refresh once you selected this option.
Next we fill out the following field:
1. Destination address to which the domain needs to be forwarded.
2. Select the Forwarding type, the recommended option is to choose "Moved permanently (code 301)"
3. Press "OK"
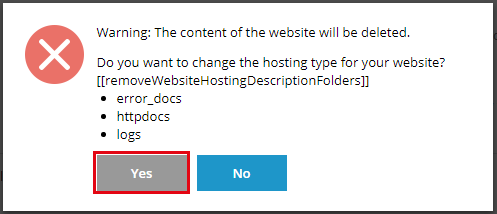
A warning in a modal window will appear, that the webspace and content we created earlier in this tutorial for this domain will be removed. Press "Yes", to confirm.
2. Select the Forwarding type, the recommended option is to choose "Moved permanently (code 301)"
3. Press "OK"

A warning in a modal window will appear, that the webspace and content we created earlier in this tutorial for this domain will be removed. Press "Yes", to confirm.
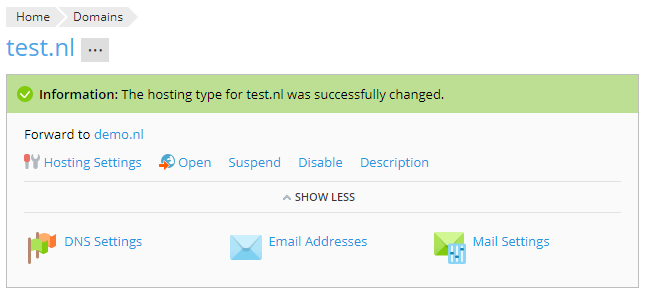
If done correctly, you'll see the hosting type for your domain has succesfully changed and to which domain it now should forward.
Make sure, the DNS of this forwarding domain, is pointing to the IP of the Plesk Server on which you´ve created the domain forwarding.
